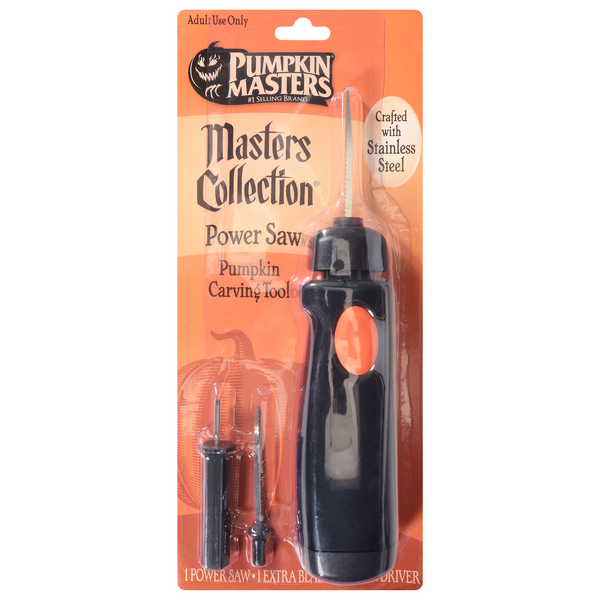
Pumpkin Masters Power Saw Pumpkin Carving Tool
1 ea
Warnings
Caution: This is not a toy. The component(s) contained within may be sharp. User assumes all risks of injury. Adult supervision required. Store all component(s) away from children. Not for food use.
Details
1 Power Saw. 1 Extra Blade. 1 Screwdriver. #1 selling brand. Crafted with stainless steel. Requires 4 1.5V "AA" batteries (not included). Instagram. Facebook. Pinterest. YouTube. Consumer Inquiries: 1-877-726-8793.
Adult use only. Carve out Bottom: Carve an opening from the bottom of your pumpkin. Clean and Scrape*: Using a Pumpkin Masters scoop", clean out the seeds and strings. Scrape the area you're about to carve until the wall feels about an inch thick. Draw design on pumpkin or use a Pumpkin Masters pattern*. Attach & Transfer Pattern*: Trim the pattern* and tape it to your pumpkin. Tape the folds in place. Use the screwdriver to transfer the pattern. When the design is completely transferred, remove the paper pattern. Carve the Design: Using the screwdriver, poke a hole in your pumpkin. Hold the saw like a pencil for best control. Insert the blade tip into pumpkin flesh, then depress the power button. Saw along the design using gentle pressure. Do not force the saw through the pumpkin. Remove and re-insert the blade with the power off to make corners. Install/Change Blades: Remove batteries. Twist collar counter-clockwise and pull upwards to remove from base. Pull up on blade to remove. After inserting new blade, replace collar and turn clockwise to tighten. Install/Replace Batteries*: Using the screwdriver, remove battery cover and dispose of old batteries properly. As a simultaneous set, insert new batteries, noting correct polarity. Replace cover and screw. Do not mix old and new batteries. Do not mix alkaline, standard (carbon zinc) or rechargeable batteries. Remove batteries when not in use. * Sold separately. To clean the power saw handle, wipe with a damp cloth. Do not immerse handle in water!
Country of Origin
China
Manufacturer
Signature Brands, LLC.